In the haunting realm of Nightreign, where shadows whisper and rain devours the land, players find themselves on a knife-edge between survival and oblivion. ⚔️ For newcomers and veterans alike, the journey is a symphony of peril and strategy, with Day 2 emerging as the linchpin of success—a critical juncture where decisions sculpt destinies. Failure to plan here often spells doom, as the encroaching storm consumes all in its path. Yet, with wisdom gleaned from countless expeditions, one can turn the tide, transforming dread into dominance. The game's intensity, a crucible for the unwary, demands not just skill but foresight, where every choice resonates through the nights to come.
🔥 The Power of Consumables: Don't Skimp on the Essentials!
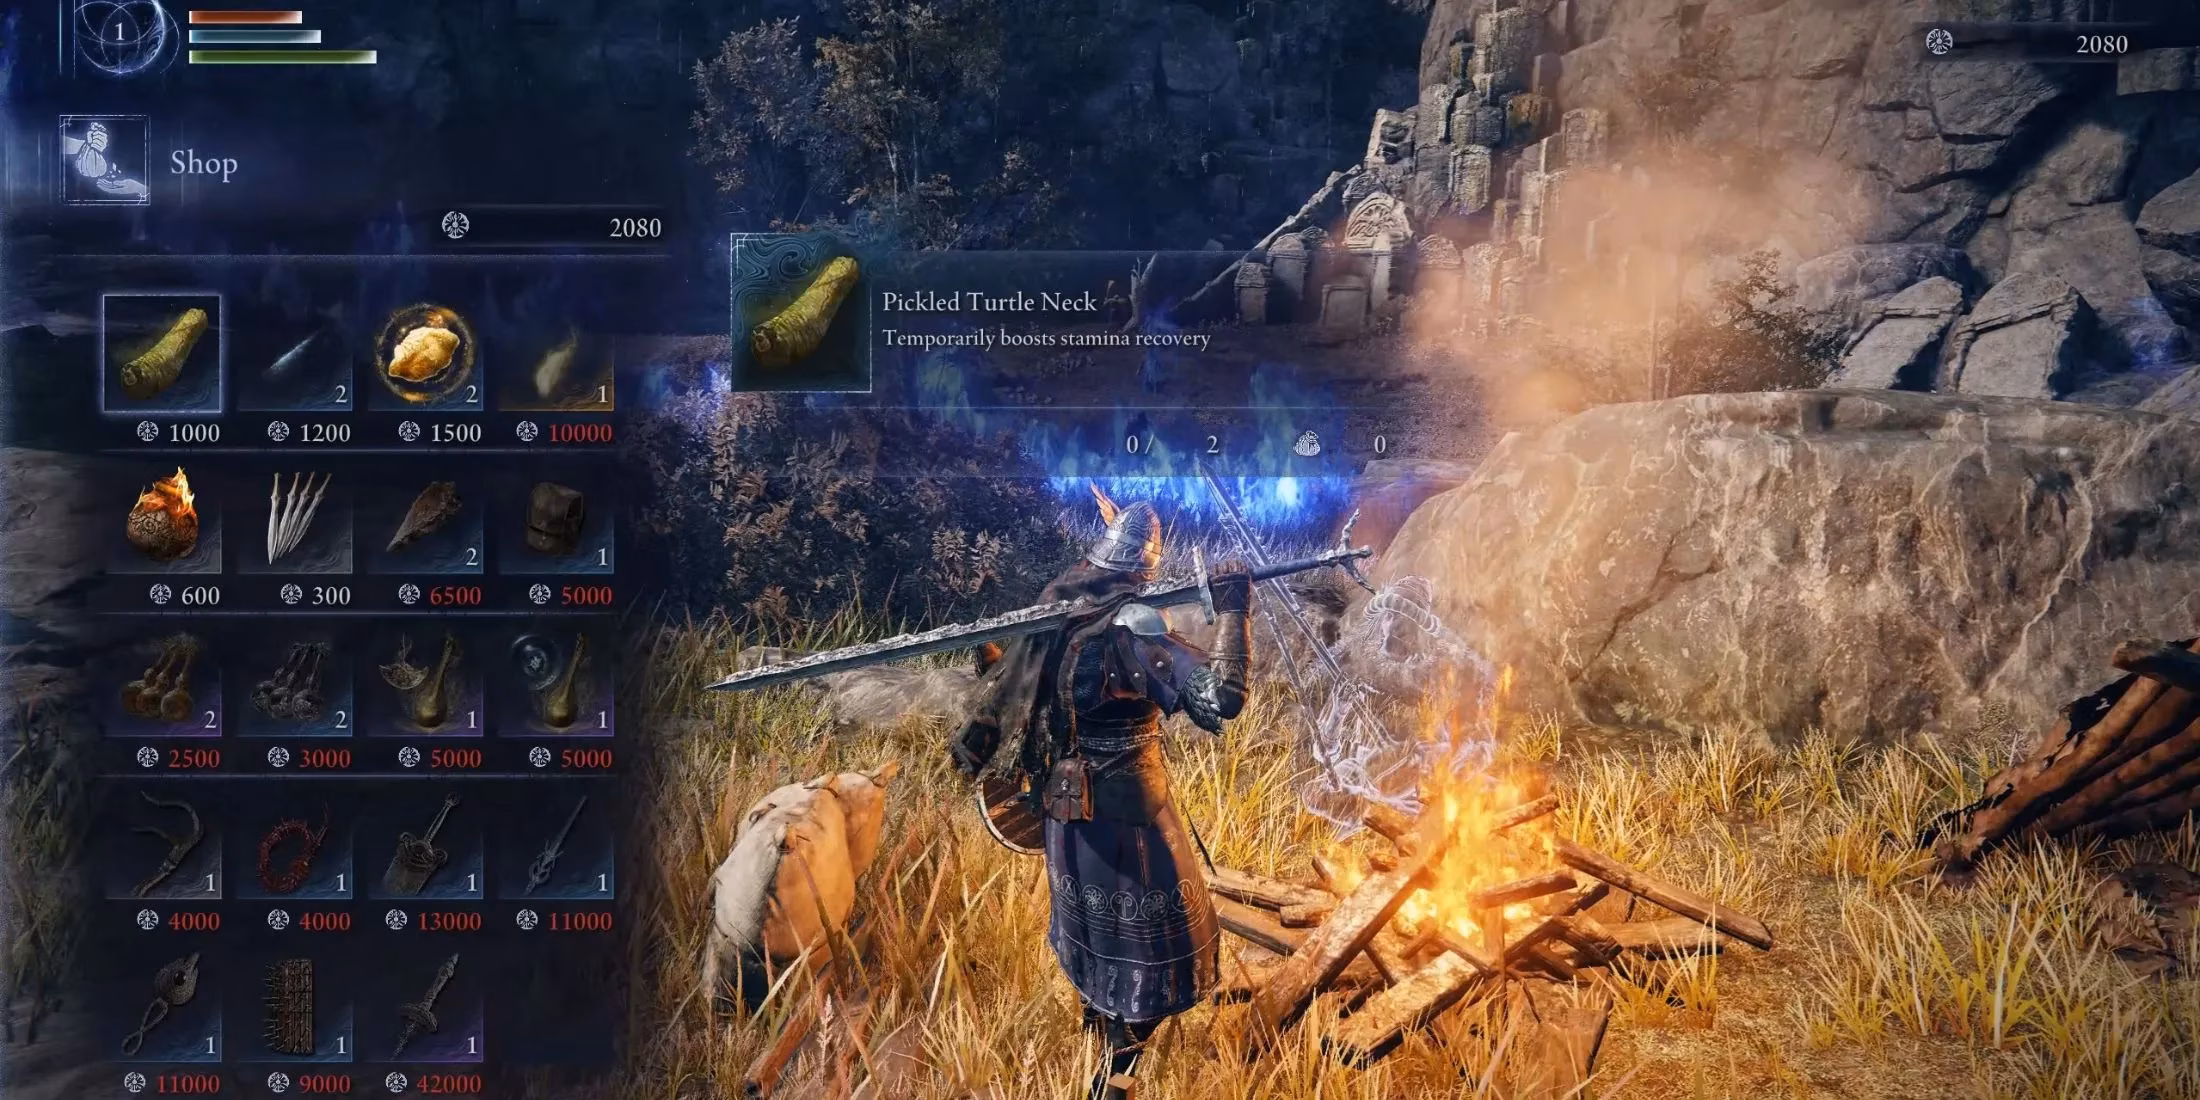
Many adventurers, caught in the thrill of battle, overlook consumables—a rookie mistake that can cost dearly. Firebombs, for instance, aren't just flashy toys; they're a game-changer, dealing massive damage to bosses or clearing swarms in a heartbeat. But it's not all about explosions. Players should stock up on greases to exploit the Nightlord's weaknesses, defensive buffs that heal or reduce damage like a shield against fate, and starlight shards for spellcasters needing that extra FP in drawn-out fights. Each item has its place, and hoarding them early pays off big time. 💡 After all, why pay a hefty premium at the merchant on Day 3 when you can save runes for leveling? It's a no-brainer: scour the world on Day 2 to avoid getting caught with your pants down.
🏰 The Central Castle: A Pillar of Power Amidst Chaos
The castle at the map's heart stands unyielding, a relic of constancy in an ever-shifting world. 🏰 Though enemies and loot vary with each run, elite foes and bosses always guard its halls, bestowing dormant powers that can push a build over the edge. Tackling it on Day 1 is possible, but for max efficiency, gear up first and storm it in one go—like hitting the jackpot when the odds are in your favor. Its location, nestled in the second rain circle, allows players to clear outer areas safely before diving in, turning a potential deathtrap into a treasure trove of buffs.
🌲 Dynamic Map Transformations: Where Danger Meets Reward
As players vanquish Nightlords, the landscape morphs dramatically—scarlet rot forests unfurl, volcanic chasms gape, and colossal castles rise. 🌋 These shifts, grand in scale, offer insane rewards and fearsome foes. But don't bite off more than you can chew; save these high-stakes zones for Day 2 when the party is prepped and ready. Clearing them nets huge bonuses, making the risk well worth it—if you've got the guts to see it through.
⚒️ Smithing Stones: Upgrade Smart, Not Early
Smithing stones, reminiscent of Elden Ring, are back with a twist—only two variants max out weapons unless you visit the forge. Snagging a purple-tier weapon at Level 1 by mining bosses might seem tempting, but using it prematurely is a recipe for disaster. Instead, adopt a savvy strategy: hit the mines early, save the second stone for later weapons, and keep options open for the final showdown. This way, you avoid putting all your eggs in one basket, ensuring flexibility as the run unfolds.
⛪ Flask Management: More Charges, More Chances
Increasing flask count is paramount—more flasks mean more wiggle room for mistakes, and hey, everyone screws up sometimes. 🍶 There's no cap, so the key is hitting as many churches as possible. On Day 1, grab a few en route, but after downing the first boss, head straight into the storm for nearby churches to maximize gains. By Day 2, with outer areas cleared, snagging those final churches is a quick power boost, letting players push the envelope faster.
🐉 Field Bosses: Giants on the Horizon
At Day 2's dawn, map icons reveal field bosses—Erdtree Avatars and their ilk—that are no joke, packing massive health pools and damage. 😤 These icons guide your route; taking down a boss en route to the castle injects runes to fuel your assault. Some are soloable with the right gear, making it a high-risk, high-reward play. Remember, it's all about timing and guts—don't bite off more than you can chew.
🐞 Talisman Tactics: The Hidden Edge
Talismans, often obscure, are found by hunting scarabs across fixed or roaming paths. 💎 Killing these beetles yields powerful passives, accessible via map clues in forts. Grab them when zones shift, especially near the final circle, to stack bonuses without time pressure. It's a make-or-break move that can tip scales in your favor.
⚔️ Weapon Passives: The Unsung Heroes
Weapon passives, a hidden gem, work even when stashed—some require equipping, but most grant buffs from the inventory. On Day 2, tailor these to your build, turning useless weapons into utility powerhouses. It's a crucial, often overlooked feature that adds layers to strategy, proving that sometimes, the best tools are the ones you don't wield.
❓ People Also Ask
Here are common questions players ponder in the heat of Nightreign:
-
What's the best consumable for beginners? Firebombs are a solid start—easy to use and effective against groups.
-
How early should I tackle the castle? Wait until Day 2 for optimal gear, or risk biting the dust.
-
Can field bosses be soloed? Yes, with the right build, but it's a high-wire act—bring your A-game.
-
Are talismans worth the hunt? Absolutely! They're low-effort, high-reward if you know where to look.
Open Question
In a world where darkness encroaches and every choice echoes, what defines true mastery—perfect strategy or the courage to embrace chaos?